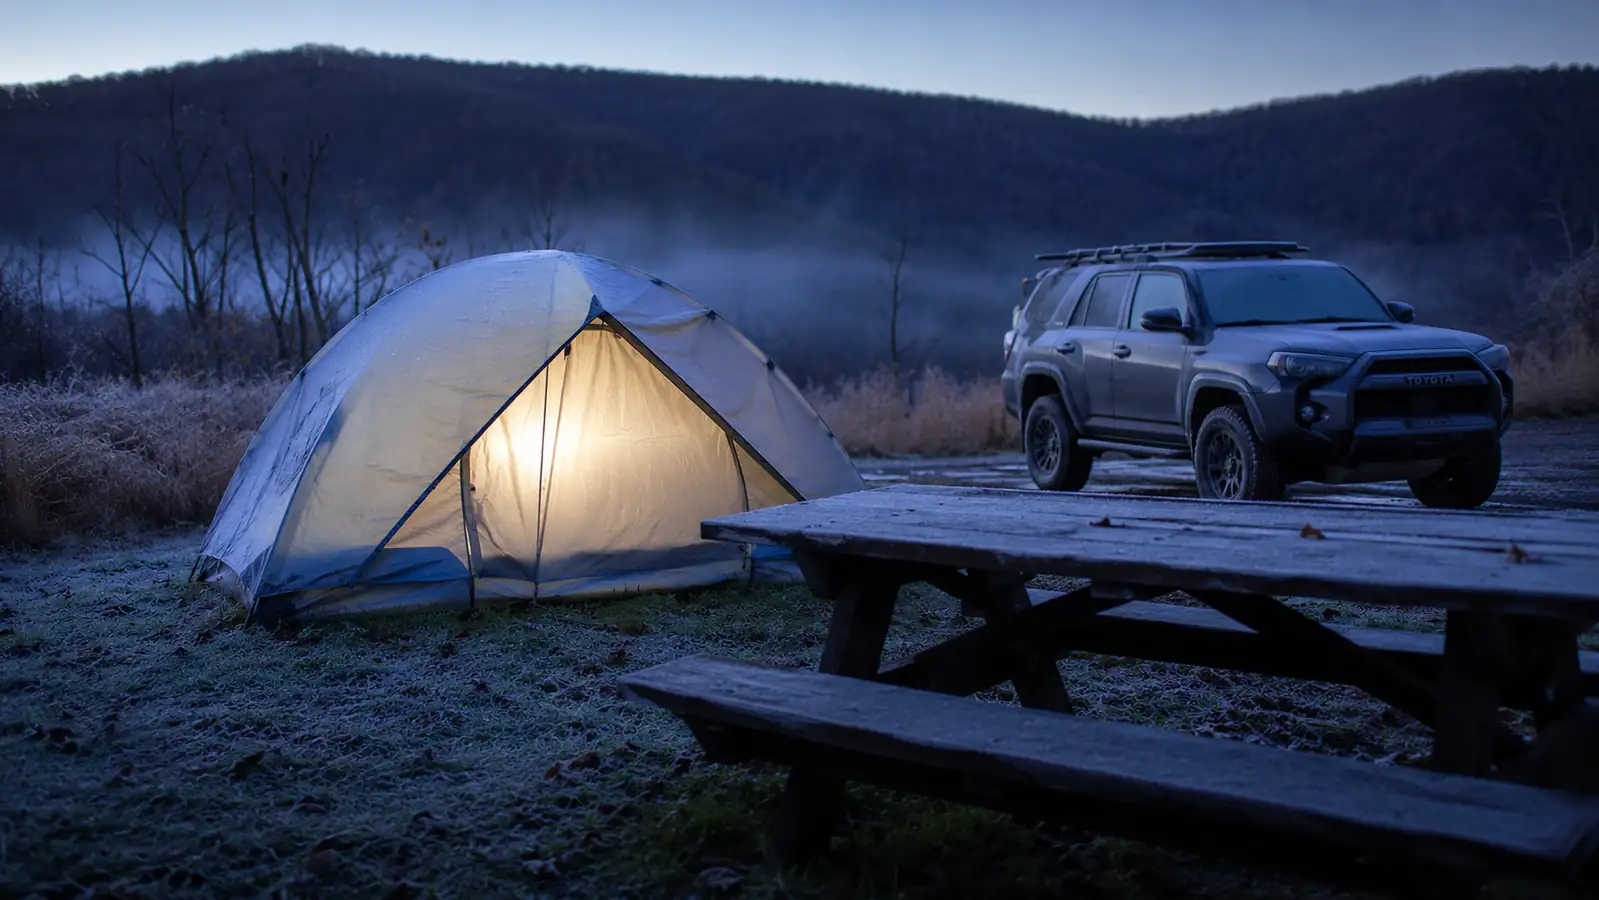
The coldest night we've ever camped as a family was a late-October trip to Turner Falls, forecast low of 34 degrees, and I spent the whole drive down half convinced we'd made a mistake bringing Ivy along at eight years old. She'd had a rough cold-weather trip the year before in a hand-me-down bag that just wasn't built for it, and I didn't want a repeat where everyone's miserable by 10 p.m. and nobody sleeps. That trip ended up being one of our best, and it wasn't because the weather cooperated. It's because I finally had a real system for keeping two kids warm overnight instead of just hoping extra blankets would cover it.
This isn't a survivalist guide. We're not winter camping in a blizzard, and I'm not going to pretend a budget sleeping bag turns into an expedition-grade piece of gear if you layer it right. What follows is the actual sequence I use before and during a cold-weather campout with Nolan and Ivy, built around the oaskys sleeping bags both kids sleep in, plus the ground insulation, layering, and evening routine that make those bags actually perform down near their rated floor instead of falling short of it. Most of our cold-weather trips are inside a four hour drive of northeast Oklahoma, and this is the exact process I'd hand to another parent heading out on a similar trip.
The sleeping bag this whole system is built around
Everything below assumes a properly rated 3-season bag as your starting point. This is the one both my kids sleep in. Check today's price on Amazon before your next cold-weather trip.
Amazon Check Today's Price on Amazon →Step 1: Read the Actual Overnight Low, Not the Daytime High
This sounds obvious until you're the parent who packed for a 62-degree day and forgot to check what happens after the sun goes down. I check the overnight low for the specific campground, not the nearest city, because state park sites in low-lying spots near a river or a lake, like a lot of what we camp near in eastern Oklahoma, can run five to ten degrees colder than the forecast for the closest town. I pull this up the morning we leave, not three days out, since a cold front can shift the number by a lot in either direction.
Once I have the real overnight low, I compare it against what I actually know the oaskys bags handle comfortably for each kid. After a full season of trips, I've learned Ivy's honest comfortable floor in the oaskys bag is closer to 45 degrees before she needs an extra layer, while Nolan, who sleeps hot, can push it several degrees lower before he notices. That gap between the two kids matters, and it's the number that decides everything else in this guide, whether we're adding a liner, a hot water bottle, or just calling it a mild enough night to skip the extra steps.
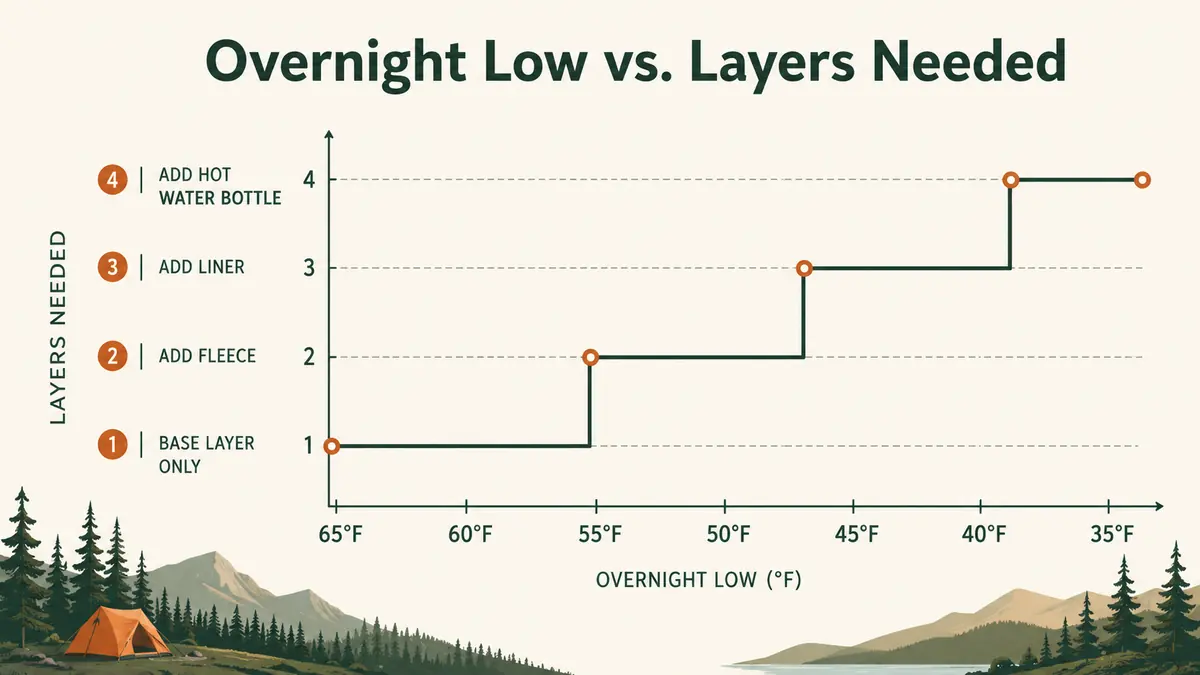
I keep a simple rule in my head now: above 55 degrees, the oaskys bag alone with regular pajamas is enough for both kids. Between 45 and 55, Ivy gets a fleece layer and Nolan usually doesn't need one yet. Below 45, both kids get the full layering system in this guide, no exceptions, because that's the range where guessing wrong means someone wakes up cold at midnight instead of sleeping through.
Step 2: Get Real Insulation Under the Bag, Not Just Blankets on Top
The mistake we made on that first rough Turner Falls trip wasn't the sleeping bag, it was the ground underneath it. Cold ground pulls heat out of a sleeping bag faster than cold air does, and no amount of piling blankets on top fixes that if there's nothing insulating from below. We run a closed-cell foam pad under each kid's sleeping bag now, cheap, durable, and it doesn't puncture the way an inflatable pad can when Nolan's tossing around at 2 a.m.
If you're on a budget and can only upgrade one thing before a cold trip, I'd tell you to buy the ground pad before you buy a warmer bag. A well-rated oaskys sleeping bag on bare tent floor loses a shocking amount of its performance, and I learned that the hard way before we started using foam pads under both kids every single trip, cold weather or not. It's a five-minute setup step and it's the single biggest jump in actual warmth we made all season.
We tried an inflatable pad for one season before switching back to foam, and the tradeoff wasn't close for a family with kids. The inflatable pad packed smaller and felt nicer to sleep on, but it punctured on a rocky site at Robbers Cave the second trip out, and a flat pad at midnight means cold ground contact for the rest of the night. Foam costs more room in the 4Runner but it's never once failed us, and for kids who don't sit still, that reliability matters more than the extra comfort.
Step 3: Match the Sleeping Bag to the Trip, Not the Season on the Calendar
We use the same oaskys bag for both kids across spring, summer, and fall, and the reason that works is that it's genuinely a 3-season bag, not a marketing label stretched over a bag that's really only good for July. On our mildest trips, Lake Tenkiller in June with a 68-degree low, the oaskys bag breathes well enough that neither kid overheats. On the colder end, once we're talking overnight lows in the high 30s to mid 40s, that's where the system in this guide starts mattering, because the bag alone gets you close but not always all the way there.
What I wouldn't do is buy a separate, more expensive winter bag for two or three cold weekends a year when a properly layered oaskys 3-season bag covers the range we actually camp in. If your family, like ours, is mostly out spring through fall and only occasionally hits a genuinely cold night, spending on layering pieces and a good pad gets you further per dollar than upgrading the bag itself. Save the winter-rated bag purchase for a family that's regularly camping below freezing, which isn't most of us.
The hood and neck cinch on the oaskys bag matters more on cold nights than I expected before we started paying attention to it. A lot of body heat escapes around the neck and shoulders if a bag's just draped loosely, and the drawcord around the hood lets us snug that gap down without fully mummy-wrapping a kid who'd rather sleep with some room to move. Ivy cinches hers most nights below 45 degrees. Nolan almost never bothers, which fits the pattern of him running warm no matter what we throw at him.
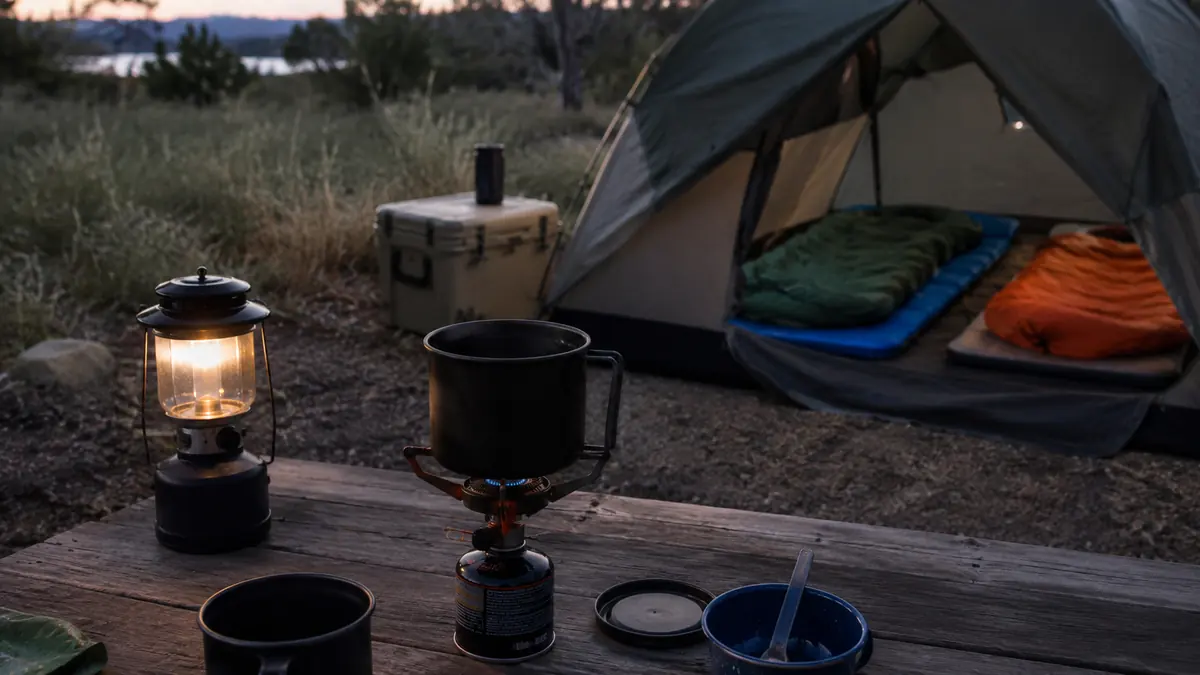
Step 4: Layer the Kid, Not Just the Bag
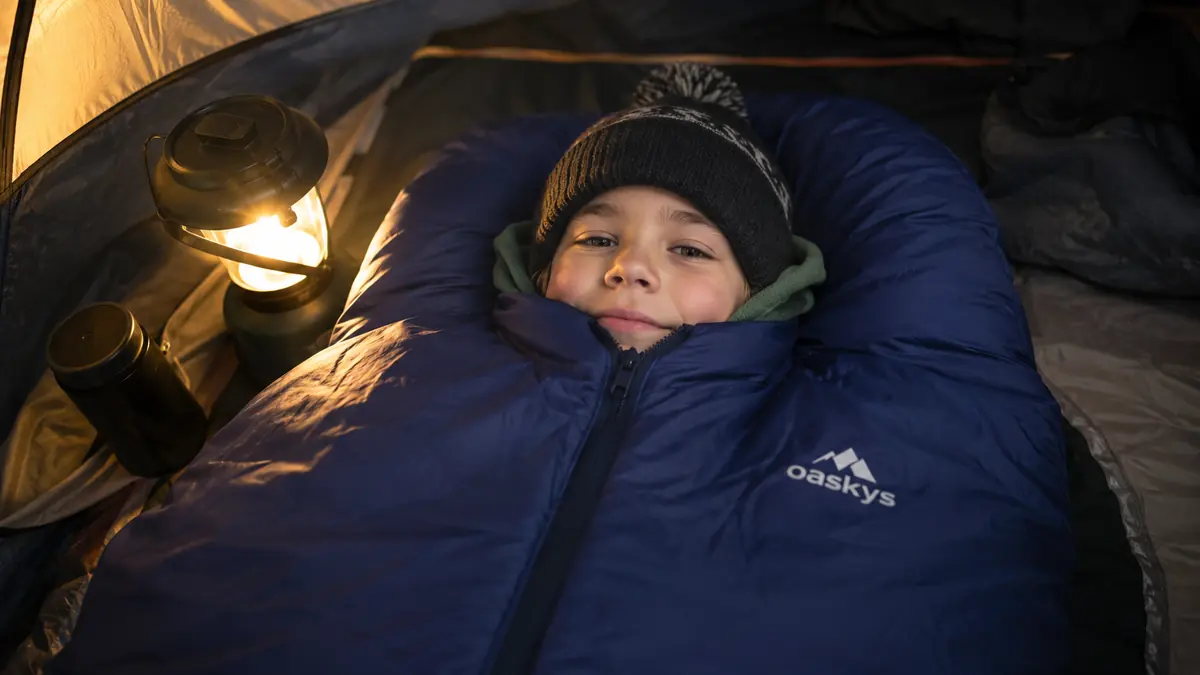
This is the step that made the biggest difference on that 34-degree Turner Falls night. Instead of stuffing extra blankets into an already snug sleeping bag, which actually compresses the bag's loft and makes it perform worse, I put the extra warmth on the kid. A base layer of thermal long johns, a fleece hoodie, wool or synthetic socks, and a beanie, all worn inside the oaskys bag rather than piled on top of it. Compressing a sleeping bag with extra blankets squeezes out the air pockets that trap body heat in the first place, so more layers inside the bag beats more blankets outside it every time.
Ivy runs cold enough that she wears the full stack, base layer, fleece, socks, and beanie, on anything under 45 degrees. Nolan usually only needs the fleece and socks even down into the high 30s. I keep both kids' cold-weather layers in one duffel bag that only comes out for trips where the forecast dips below 50, so we're not digging through regular clothes at the campsite trying to remember what we packed for warmth.
Step 5: Build a Warm-Up Routine Before Anyone Zips In
A sleeping bag traps heat, it doesn't generate it, so a kid who climbs in already cold stays cold for a while even in a good bag. About twenty minutes before lights out on a cold night, we get moving, a short walk around the loop, helping pack up the cooler, anything that gets blood flowing before anyone crawls into a bag. Cold hands and feet at bedtime take much longer to warm up passively than they do with a few minutes of actual movement first.
On the coldest trips, I'll heat water on the camp stove and fill a hard-sided water bottle, wrap it in a sock, and drop it into the foot of each kid's oaskys bag about ten minutes before bedtime. By the time they climb in, the bottom of the bag is already warm instead of ice cold, which matters more for actually falling asleep than almost anything else in this list. It's a small trick, costs nothing beyond water and a stove you're already carrying, and it's become a nightly ritual on cold trips that both kids now ask for without me prompting.
Wet shoes and socks by the fire ring at bedtime are a bigger warmth thief than people expect. If Nolan's shoes got damp from dew or a creek crossing earlier in the day, I'll set them near the dying fire, not close enough to melt anything, for the last twenty minutes before bed so nobody's putting on cold, damp socks at 6 a.m. It's a small habit but it's saved more than one groggy morning from starting off miserable before anyone's even had coffee.
What Else Helps
Tent placement matters more than people think. We try to pitch away from open low ground where cold air pools overnight, and closer to a tree line or a slight rise when the site allows it. A rainfly zipped tight all the way down also traps a surprising amount of warmth compared to leaving vents wide open on a genuinely cold night, though I'll crack one vent regardless to keep condensation from building up inside. And a headlamp within reach of each kid's bag means nobody's climbing out into the cold looking for a light if they wake up at 3 a.m., which keeps a short bathroom trip from turning into everybody being fully awake and cold for twenty minutes.
I also keep a spare set of dry socks in each kid's sleeping bag stuff sack specifically for cold trips, since damp socks from an evening spent near the fire ring are one of the fastest ways to end up cold overnight even inside a good bag. It's a small thing that costs nothing to plan for and has saved more than one night from starting off miserable.
I also do a quick check on both kids about an hour after they fall asleep on the coldest nights, just a hand on the forehead or a look at whether a hood's slipped off. It takes thirty seconds and it's caught a couple of nights where a kid had kicked a beanie off or wriggled halfway out of a hood without waking up. Catching that early beats discovering it at 3 a.m. when everyone's fully awake and cold.
A sleeping bag traps heat, it doesn't create it. Everything in this system exists to make sure the kids are already warm before they zip in, not counting on the bag to fix cold from scratch.
None of this replaces buying a sleeping bag that's actually rated for the range you camp in. The oaskys bag has become the base of our whole cold-weather system for a reason, it's comfortable, it packs down small enough to still fit everything else we bring in the 4Runner, and after a full season across four different campgrounds it's held up well enough that I trust it. But even a well-rated bag needs the ground insulation, the layering, and the warm-up routine around it on a genuinely cold night. Skip any one of those steps and you're asking one piece of gear to do a job that really takes a whole system.
Build your cold-weather system around a bag that's actually earned it
This is the sleeping bag both of my kids have slept in through spring, summer, and a 34-degree night at Turner Falls. Check today's price on Amazon before your next cold trip.
Amazon Check Today's Price on Amazon →