
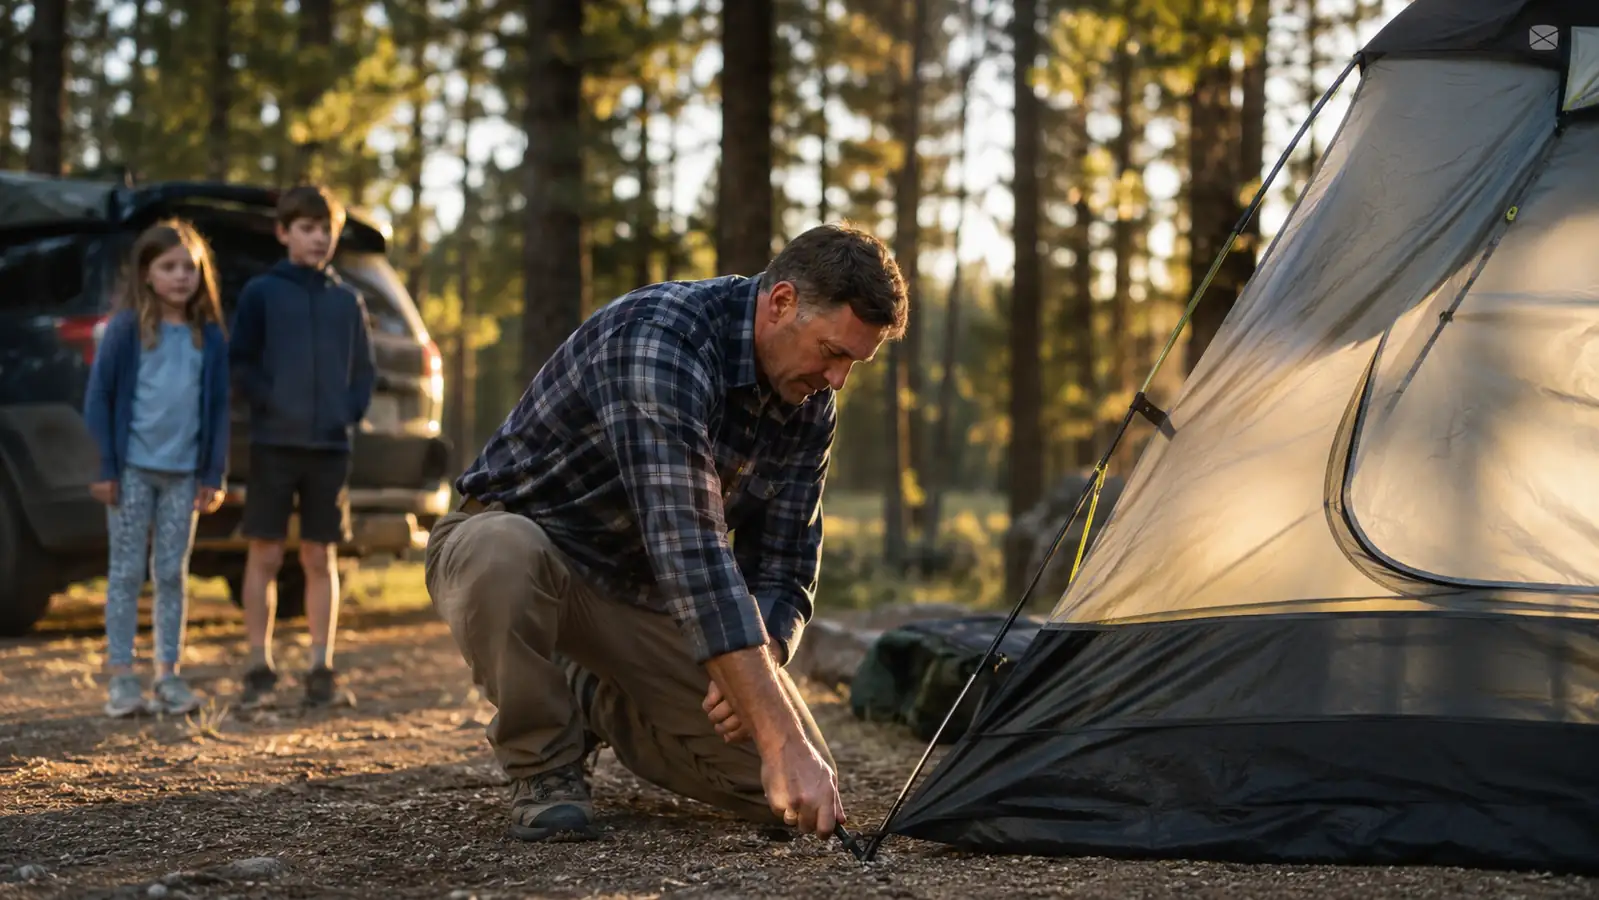
The worst version of camp setup in my house looks like this: Nolan and Ivy are unbuckled in the back of the 4Runner, shoes already off, asking how much longer every ninety seconds, and I'm standing in a gravel lot with a tent bag I haven't opened since October. Dana's unloading coolers behind me and giving me that look that means the sun's going down faster than I'm moving. That was our first two seasons with a big box store tent that needed a manual and a second set of hands to get right. It doesn't happen anymore.
We switched to the Coleman Skydome about a year and a half ago, mostly because of the "5 minute setup" claim printed right on the box, which I assumed was marketing math that didn't account for real wind, real kids, or a guy who has never once read an instruction sheet before pitching a tent. It's not marketing math. I've put this Coleman Skydome up somewhere around twenty five times now, almost always solo while Dana handles the kids and the cooler, and I want to walk through exactly how I do it, step by step, so you're not the guy standing in a gravel lot while the light runs out.
This isn't a review of every feature. It's the actual sequence I use, in the actual order I use it, built around the one thing that matters when you've got two kids losing patience: getting from trunk to standing tent as fast as possible without skipping the parts that keep you dry if it rains at 2 a.m. Most of our trips are inside a four hour drive from northeast Oklahoma, which means we're usually rolling into a campsite with only an hour or two of daylight left after the drive, gas stop, and the inevitable "are we there yet" stretch. Speed at setup isn't a nice-to-have for us. It's the difference between a calm first night and a stressful one.
Skip the gravel-lot meltdown. See today's price on the Coleman Skydome.
This is the tent I actually use on our trips. Check current availability and price before you head out.
Amazon Check Today's Price on Amazon →Step 1: Stage Everything Before You Touch the Tent Bag
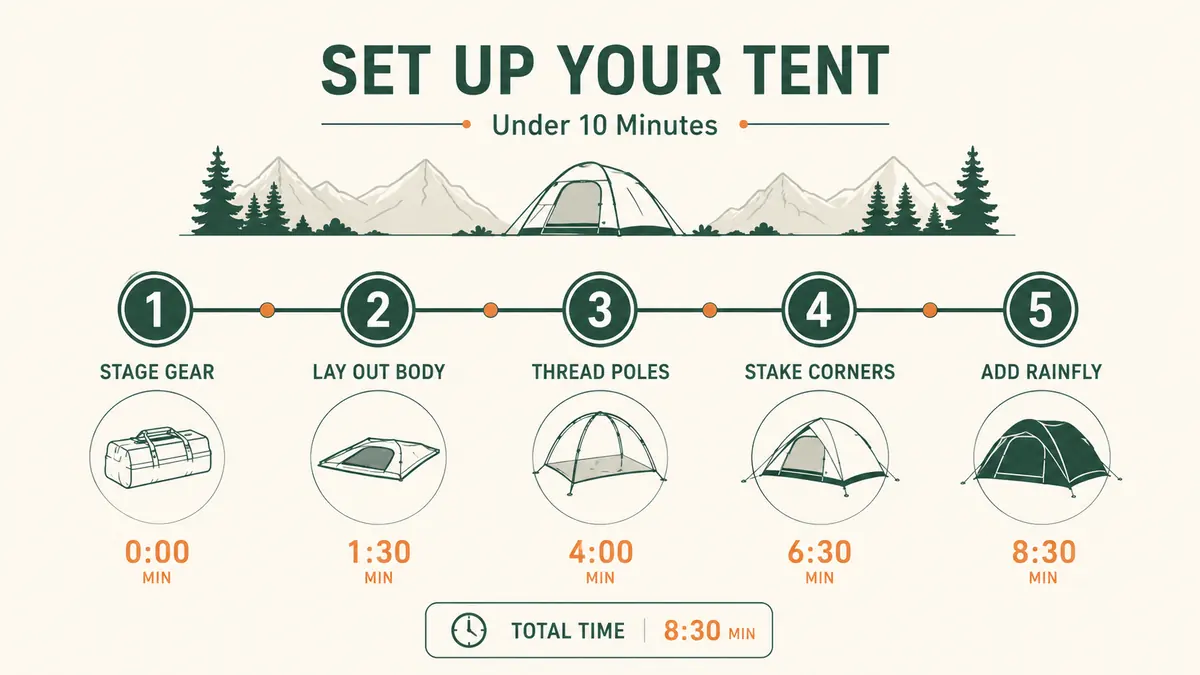
The single biggest time-saver has nothing to do with the tent itself. It's staging. Before I pull the Coleman Skydome out of its bag, I lay out a flat patch of ground, usually the spot Dana's already scoped out while I was still parking, and I dump the bag's contents in one motion instead of digging through it piece by piece. Poles, stakes, rainfly, footprint if I brought one. Everything visible, nothing still zipped into a pouch I'll forget about halfway through.
I also do a fast headcount on stakes before I start. The Skydome ships with enough, but stakes are the one thing that walks off in a truck bed or gets left in the dirt at the last campground. Counting them now, with both kids still in the truck, beats discovering you're short three stakes when the rainfly's half on and the wind's picking up.
This step takes maybe forty five seconds and it's the difference between a smooth build and a stop-and-start one where you're narrating "okay, hold on" to two kids who are done holding on. It also means I'm not walking back to the 4Runner mid-setup because I forgot the stake bag was still in the console. Small thing, but it's the kind of small thing that adds three or four minutes back onto a job that's supposed to take five.
Step 2: Lay Out the Footprint and Unfold the Tent Body
If you're using a footprint or a tarp under the tent, get it flat and roughly squared to where the tent will sit first. I eyeball this against a tree line or the truck for a straight edge, since a crooked footprint means a crooked tent, and a crooked tent means the rainfly never quite lines up right later. If there's any breeze at all, I'll drop one stake in a corner of the footprint just to keep it from sailing off while I go grab the tent body, which has happened to me exactly once and cost me a chase across a campground loop.
Then I unfold the Skydome's body directly on top of it and stretch it out to its full rectangle. This is usually the moment Nolan wants to help, and honestly, it's the easiest place to let an eleven year old be useful, grabbing a far corner and pulling it flat while I do the same on my end. Ivy at eight is better suited to stake-fetching duty a step later. Get the body flat and square now and every step after this goes faster, because the pole sleeves and clips only line up cleanly when the fabric isn't twisted.
Take the extra ten seconds here to check that the door is facing the direction you actually want it to face. I've set this Coleman Skydome up backward from the picnic table exactly once, and moving a fully staked tent afterward is a much bigger job than just checking orientation before you unfold it.
Step 3: Thread the Poles and Trust the Color-Coded Clips
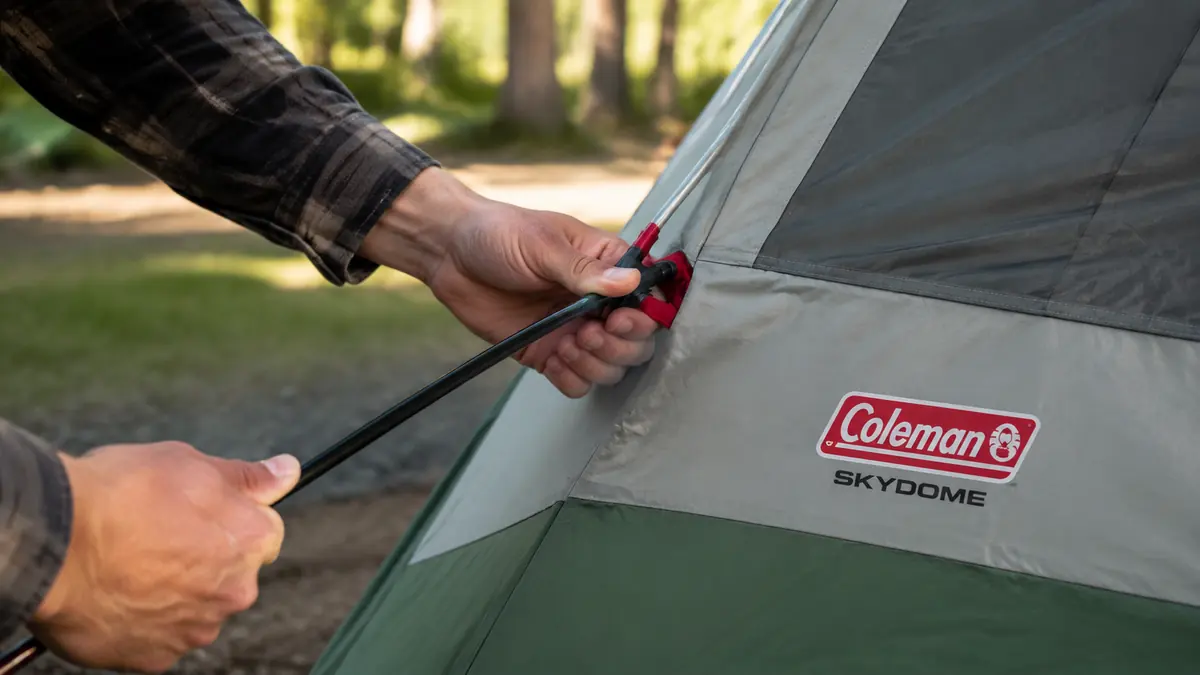
This is where people lose time on tents that aren't the Skydome, and it's the part that genuinely earns the five-minute claim on this one. The poles are shock-corded, so they snap together into their full length almost on their own, you're really just guiding them, not assembling them piece by piece. I lay the two full pole lengths across the tent body in an X pattern before I attach anything, just to confirm I've got them oriented right.
Coleman color-codes the pole ends and the corresponding grommets or clips on the tent body, and I'll admit the first time I set this Coleman Skydome up I ignored the colors out of stubbornness and paid for it with about six extra minutes of trial and error. Don't do that. Match the colors, clip the poles into the plastic clips running along the tent body rather than threading them through fabric sleeves, and the frame practically pops into shape once both poles are seated.
If a pole end doesn't want to seat into its corner grommet, don't force it sideways, that's usually a sign the body isn't laid flat enough underneath it. Back up, smooth the fabric out, and try again. It takes five seconds and saves you from bending a pole segment, which is the one repair you can't fix in the field.
This is the step where the tent goes from a flat pile of fabric to something that actually looks like shelter, which matters more than it should when you've got kids watching. It's a visible win and it buys you patience for the rest of the build.
Step 4: Stand It Up and Stake the Corners First
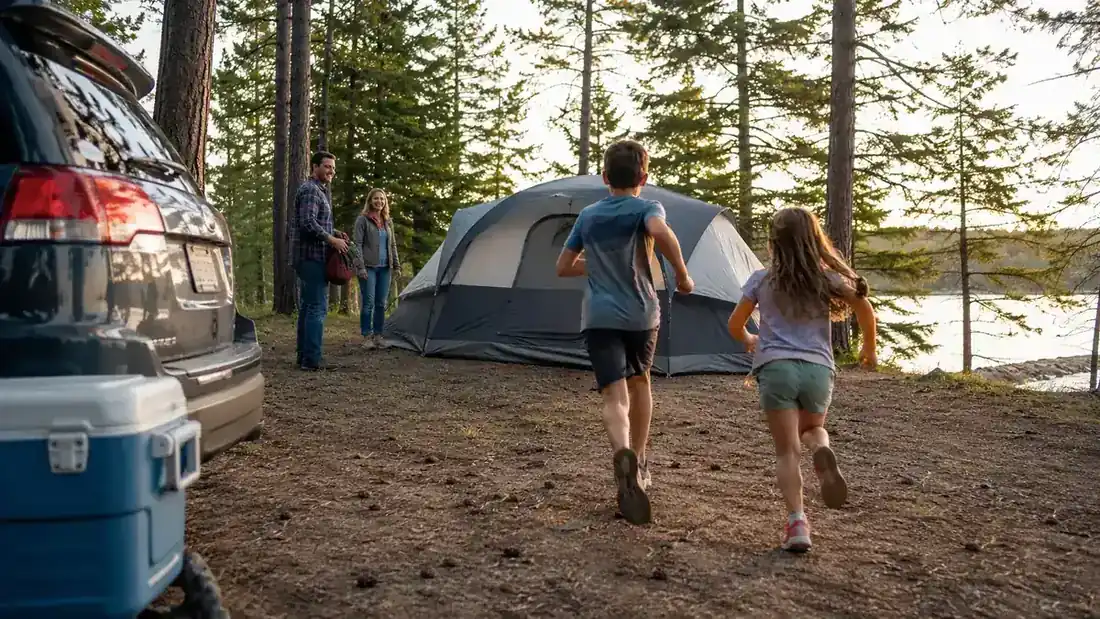
Once both poles are clipped in, the dome stands up on its own, no separate ridge pole, no fighting it upright by hand. I give it one push at the peak to seat the poles fully into their corner pins, then I move straight to staking, and I stake the corners before anything else. Corners first keeps the whole structure square and stops any wind gust from tipping the half-built frame over while I'm still working the sides.
I use a rubber mallet I keep in the 4Runner's rear bin specifically for this, since the stock stakes go into hard-packed Oklahoma clay a lot easier with a little help than they do by hand. If the ground's soft, I'll skip the mallet and just push them in at an angle away from the tent for better hold. Either way, get all four corners pinned before you worry about the side loops, they're secondary and mostly there for wind resistance, not structure.
On rockier sites, and we've camped a few spots in the Ozarks where the ground fights back, I'll relocate a corner six inches rather than fight a stake through a root or a flat rock. The Skydome's footprint is forgiving enough that a few inches of adjustment on one corner doesn't throw the whole shape off.
Step 5: Throw On the Rainfly and Guy It Out
Even on a clear-sky forecast, I put the rainfly on every single time. Oklahoma weather changes its mind more than my kids do, and I've been caught by a surprise midnight storm exactly once without a rainfly staked down, and once was enough. The Skydome's rainfly is color-coded the same way the poles are, so matching the seams to the tent's front door is quick once you know which side faces which.
Drape it over the frame, clip or buckle it down at each corner, then walk the perimeter and stake out the guy lines. I don't over-tighten these, just snug enough that the fly doesn't sag and pool water if it rains. This whole step, rainfly on and staked, usually takes me under two minutes once I've done it a handful of times, and it's the step that actually keeps Nolan and Ivy's sleeping bags dry, so I don't rush it even when they're rushing me.
From unzipping the bag to a fully staked tent with the rainfly on, I'm reliably under ten minutes solo, and closer to six or seven when Dana and the kids are pitching in on stakes and corners. That's the whole reason this tent earned a permanent spot in the back of the 4Runner instead of getting swapped out for something else.
What Else Helps
A rubber mallet earns its spot in your gear bin, especially if you're pitching on anything harder than loose sand. A headlamp matters more than you'd think too, because the trips where setup speed matters most are the ones where you're racing dusk, not the lazy Saturday-afternoon arrivals. I also keep the footprint folded inside the tent bag itself instead of separate, so I'm never digging through a second stuff sack while two kids stand around waiting. None of this is about the tent being complicated. It's about removing every small decision you'd otherwise have to make on the fly.
Breaking camp the next morning is worth a mention too, mostly because a wet rainfly changes the math. If it rained overnight, I'll pull the fly off first and let it air out on the picnic table or drape it over the open tent doors for ten minutes while we eat breakfast, rather than stuffing it away wet and dealing with mildew smell on the next trip. It adds a few minutes to breakdown, but it's saved more than one Skydome from smelling like a gym bag by the third outing.
The tent isn't the hard part anymore. The hard part was ever pretending a ten-minute job should take thirty.
I'll add one honest caveat: none of this works if you've never done a practice run. The first time I set up the Coleman Skydome, in my own front yard with no kids watching and no clock running, it still took me close to fifteen minutes because I was learning the color-coded clips and the pole geometry from scratch. Do that practice run at home before your first real trip. Every setup after that gets faster, and by trip three or four you'll be doing this from memory the same way I do now, which is really the whole point. A tent that's fast on paper doesn't help you if the first time you're figuring it out is at dusk with two tired kids watching.
Ten minutes, solo, kids still buckled. That's the whole pitch.
If your current tent turns setup into a family standoff, the Coleman Skydome is worth a look. Check today's price and see which size fits your crew.
Amazon Check Today's Price on Amazon →