
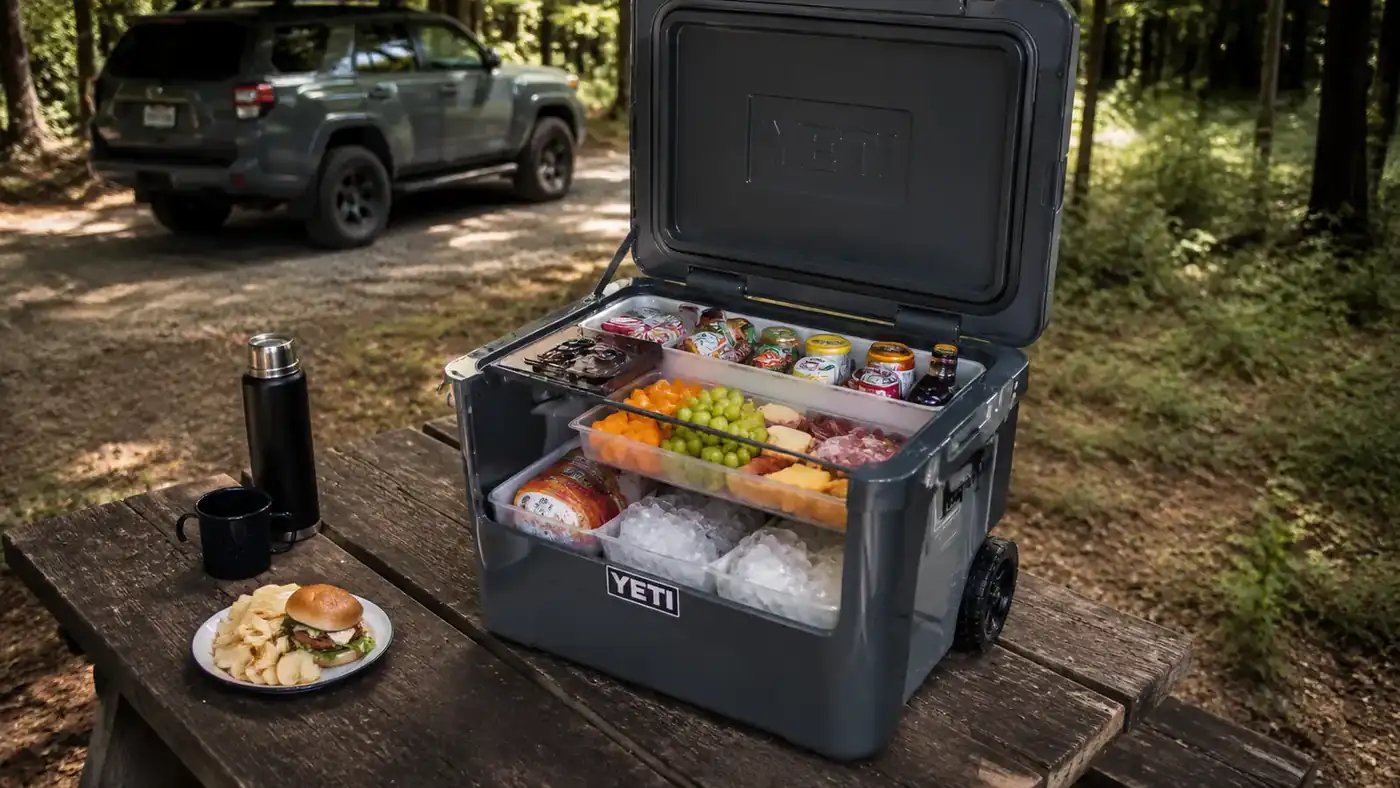
The first time I packed a cooler for a weekend trip, I did it the way most people do, ice on the bottom, food dumped in whatever order it came out of the fridge, and lid closed. By Saturday afternoon the ice was slush, the lunch meat was floating in cold water, and I was digging past a soggy bag of hot dog buns to find the cheese. Two nights, three meals a day for four people, and a cooler that wasn't organized for any of it. I ended up buying a bag of gas station ice on day two, which is exactly the expense a cooler is supposed to save you from. That trip is why I started packing in layers instead of just loading and hoping.
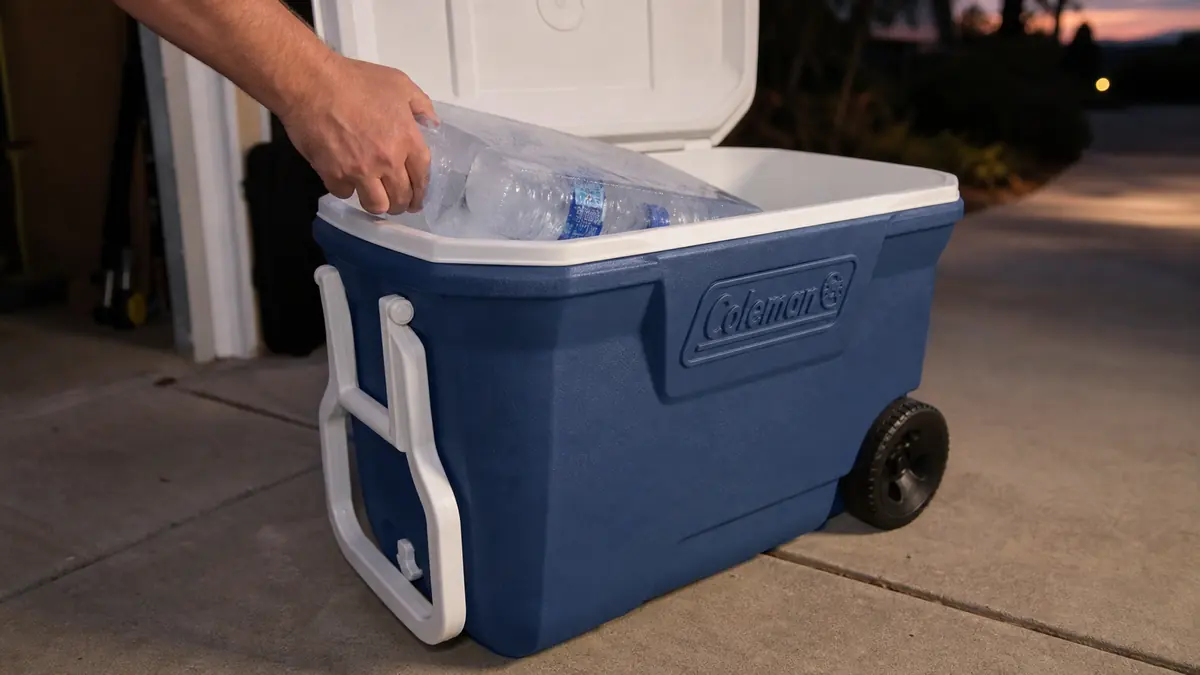
What changed the actual results, not just the method, was switching to a rolling cooler with real insulation instead of the thin twenty-dollar box I'd been hauling. We run a Coleman Xtreme now, the wheeled version, and it holds ice for close to five days on paper. In practice, on a 2-3 night trip with kids opening the lid every time someone wants a juice box, I get a solid three full days before I'm thinking about a second ice run. That's real-world use, not a lab number, and it's the same cooler that's been strapped in the back of our 4Runner for two seasons now. The layering method below is built around that cooler specifically, sized for its dimensions and how its lid seals, but the logic works in any hard-sided rolling cooler if you follow the order.
The cooler this whole packing method is built around
None of this layering matters if the cooler itself leaks cold air or the wheels give out on a gravel path. The Coleman Xtreme is what we load every trip, check today's price on Amazon before you pack for your next one.
Amazon Check Today's Price on Amazon →Step 1: Freeze Everything You Can the Night Before
This step happens at home, not at the cooler. Two nights before we leave, I fill a handful of gallon zip bags with water and lay them flat in the freezer, they turn into thin ice slabs that pack tighter than bagged cubes and don't need a separate bag for meltwater later. I also freeze a few water bottles solid, which double as drinking water once they thaw and do real cooling work in the meantime. Anything we're not eating until day two or three, chicken thighs, a pack of brats, goes into the freezer completely solid rather than just refrigerated, so it acts as its own ice block and thaws right on schedule by the time we're ready to cook it. It's one less thing I have to think about once we're actually loading the cooler, since the freezing decision already got made two nights earlier.
The night before we leave, I also freeze a two-liter bottle about three-quarters full, leaving room for expansion, and that goes in dead center of the Coleman Xtreme as the anchor block. A block that size holds cold longer than the same volume in loose cubes because it's got less surface area exposed to warm air every time the lid opens. Dana thought this step was overkill the first few trips, one more thing to remember on an already busy Thursday night. It's the single biggest reason our ice lasts three days instead of one and a half, and she's stopped arguing about the freezer space it takes up.
Step 2: Build the Bottom Layer Out of Ice and Frozen Blocks
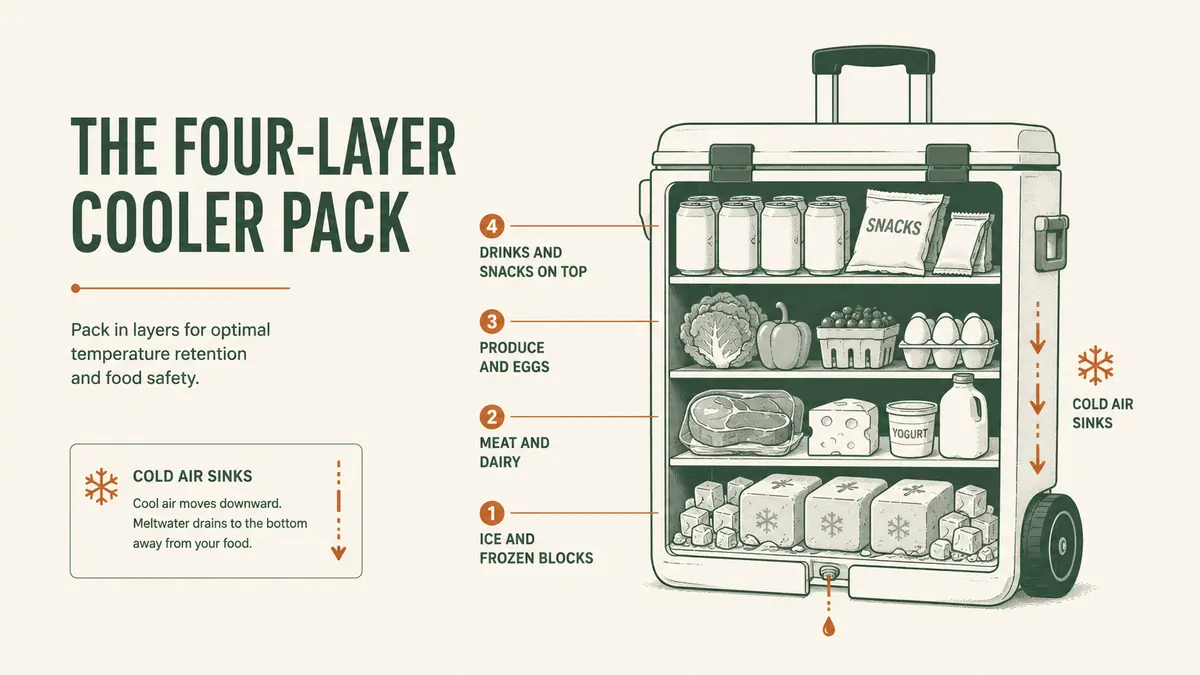
Cold air sinks, which means whatever's on the bottom of the cooler stays coldest the longest, and everything above it benefits from that cold rising up through the layers. That two-liter ice block goes in first, centered, then the flat gallon-bag ice slabs get packed flat around and on top of it, filling the gaps rather than leaving air pockets. Air pockets are wasted space that warms up faster than packed ice does, so I press the bags down until they're sitting flush against each other and the cooler's walls, working the flat slabs into the corners where a round ice bag would leave a gap.
For a 2-3 night trip for four people, I'm using roughly a third of the Coleman Xtreme's total capacity just on this bottom ice layer. That feels like a lot until you remember the cooler's job for three days straight is fighting Oklahoma heat every time the lid opens for a snack. Skimping on ice here is the single most common mistake I see other campers make, they want more room for food and drinks, so they go light on ice, and by day two everything's warm and they're driving into town for a bag of cubes anyway. It's a false trade, you save a few inches of packing space on day one and pay for it in a wasted grocery run on day two.
Step 3: Layer Meat and Dairy Directly on Top of the Ice
Raw meat and anything dairy goes straight on top of the ice layer, no barrier in between. This is the layer that actually matters for food safety, not just for staying cold enough to taste good. Ground beef, chicken, bacon, all of it gets sealed in its own zip bag or a dedicated container before it goes in, both so it's not sitting in direct contact with meltwater and so a leaking package doesn't cross-contaminate whatever's packed next to it. I keep meats we're cooking first, usually burgers for Friday night, closest to one side, and stuff for Sunday's breakfast on the other side, so I'm not excavating the whole cooler on day one looking for bacon that's actually meant for the last morning.
Milk, butter, and any cheese we're bringing sit in this layer too, packed toward the back corners where the Coleman Xtreme's insulation runs thickest, based on where I've noticed ice lasts longest inside ours. This layer stays mostly untouched until it's actually cooking time, which means less lid-opening and less warm air getting pulled down onto the ice below it every time someone's digging for a granola bar. I've started thinking of this whole layer as sealed off until dinner, and telling the kids that up front cuts down on the random digging that used to happen before I made the rule.
Step 4: Produce and Eggs Go in the Middle, Protected From Crushing
Fresh produce and eggs need cold but not the direct ice contact that meat can handle, and they need protection from getting crushed under everything else, so this layer sits in the middle, above the meat and dairy but below the top layer. Eggs travel in their original carton inside a hard plastic container, I learned that one the hard way after a cracked carton turned into a mess across an entire layer on a trip to Robbers Cave a couple years back. Vegetables that bruise easily, tomatoes, peppers, go on top of anything heavier like a watermelon or a bag of potatoes, never underneath.
I keep this whole middle layer loosely organized in a couple of mesh bags rather than loose in the cooler, one for produce, one for eggs and anything fragile. It means I can lift the whole bag out to grab what I need instead of unpacking half the cooler to find one tomato, which keeps the lid open time short and the cold air where it belongs. The mesh bags also make repacking after a meal faster, since everything that came out goes back in as one unit instead of loose items I'd otherwise be sorting one at a time.
Step 5: Drinks and Grab-and-Go Snacks Go on Top
The top layer is the one that gets opened the most, easily fifteen or twenty times a day with two kids asking for juice boxes and string cheese, so it's the only layer that doesn't need to be packed tight around ice. Canned drinks, juice boxes, string cheese, anything grab-and-go lives right under the lid where a hand can reach in and grab it without disturbing the layers underneath. This is also where I load the frozen water bottles from step one, since by day two they've thawed enough to be regular cold drinking water, right when the ice below has started working its way down. Nolan's old enough now to grab his own drinks from this layer without asking, which is one small thing that's made packing this way worth it on its own.
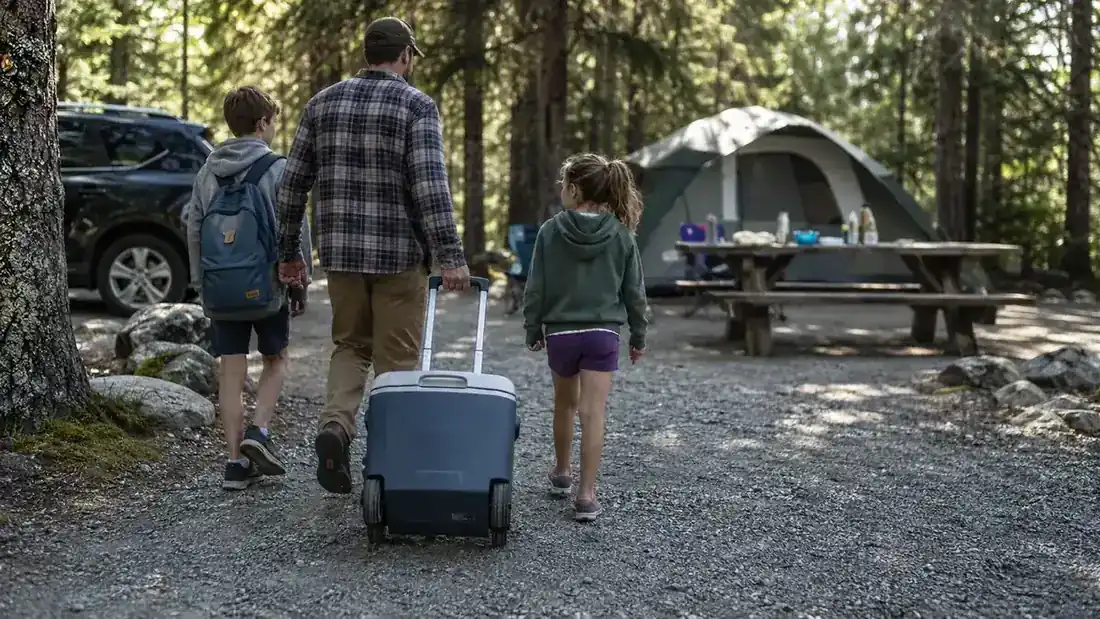
This top layer is the one place I'll actually let the Coleman Xtreme run a little less full than the rest of the cooler, leaving a little headroom means less time spent digging past a full layer of cans every time someone wants a drink, and it doesn't hurt ice retention since this layer isn't doing the cold-holding work anyway. The wheels and telescoping handle matter most right here too, since this is the fullest and heaviest the cooler ever gets, and it's usually getting rolled from the 4Runner's tailgate to the picnic table right after packing, not after ice has melted down and lightened the load.
What Else Helps
A second, smaller cooler for just drinks changes the whole equation if you've got room to bring one. It takes all the high-frequency lid openings off the main Coleman Xtreme entirely, which means the food cooler stays sealed and cold almost the whole trip, only opened at actual mealtimes. We don't always bring the second cooler, our 4Runner's cargo space has limits like anyone's, but on trips to Beavers Bend or Turner Falls where we're staying the full three nights, it's worth the extra square foot of trunk space, and Ivy's learned she can dig through that one on her own without touching the real food layers.
Parking the cooler in shade, even partial shade under the 4Runner's tailgate or a picnic table's edge, makes a bigger difference than people expect. Direct Oklahoma sun on a dark-colored cooler lid can add real heat gain over a few hours that no amount of internal packing fixes. I also try to load the cooler last and unload it first, so it spends the least possible time sitting closed in a hot car during the drive, since a parked vehicle in summer heat works against even a well-packed cooler, especially on the drive down to somewhere like Lake Tenkiller in July.
One thing I've stopped doing is topping off with more ice mid-trip unless I actually need to. Every time that lid opens for a top-off, it lets warm air in and undoes some of the cold you're trying to add back. If the bottom layer's holding, usually is through day two on the Coleman Xtreme, I leave it alone and just manage the top layer traffic instead. I keep a quick mental check, if the two-liter anchor block in the center is still mostly solid by Saturday morning, the whole cooler's on track and I don't touch it.
Cold air sinks, so whatever you pack last is what everyone touches most, and whatever you pack first is what actually keeps the trip cold.
None of this is complicated once you've done it a couple of times, it's really just accepting that a cooler isn't a box you dump food into, it's four separate jobs stacked on top of each other. The first trip I packed this way took closer to twenty minutes the night before instead of the usual five minutes of just tossing everything in. By the third or fourth trip it's automatic, and the payoff shows up Sunday afternoon when everyone else at the campground is running to the gas station for ice and we're still working off what went into the Coleman Xtreme on Thursday night. That's really the whole point of any of this, less time managing the cooler and more time actually camping.
Pack it right, and the cooler does the rest
This whole method depends on a cooler that actually holds its seal and rolls easily once it's loaded heavy. See today's price on the Coleman Xtreme before your next weekend trip.
Amazon Check Today's Price on Amazon →